
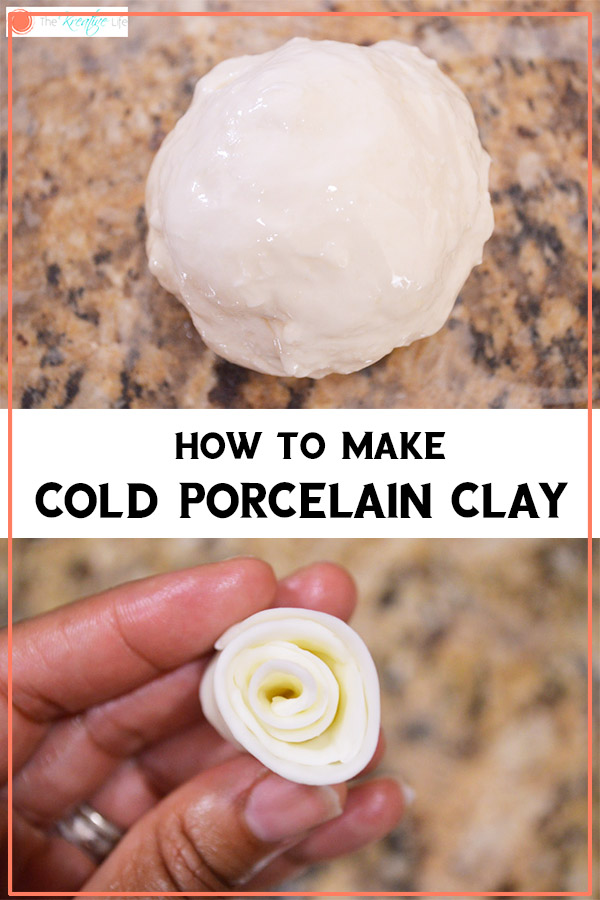
How to Make Cold Porcelain Clay and Roses
When I was younger (about elementary age), during summer break, I spent a lot of my time at our youth center because there was always something fun to do and they were always taking trips to different places.
It didn’t hurt that we lived in Europe, so those places we visited were amazing!
Imagine old castles and historic ruins. Another reason I loved the youth center is because they gave free ceramic classes. After taking the beginner’s class I was able to come back as often as I’d like to make anything I wanted. Also, it was all completely free!
I know you’re probably wondering what this has to do with a cold porcelain clay and rose tutorial. Well, since I learned how to make ceramics, I always wanted to learn how to make clay sculptures. No molds, but all hands.
Anything that I’d make would be original. Well, I’ve failed miserably at every single attempt.
I had a perfect vision in my head of what I wanted to make, but what I actually made was so terrible that it ended up in the trash.
I still want to learn how to mold clay by hand, but purchasing expensive clays and having them come out looking terrible was not worth my time or money. I wanted something that I could practice on until I became good enough. It had to be very affordable.
I started making this cold porcelain clay to practice on. It’s affordable, very easy to make, and I can find everything I need around my house. Enjoy!
How To Make Cold Porcelain Clay and Roses
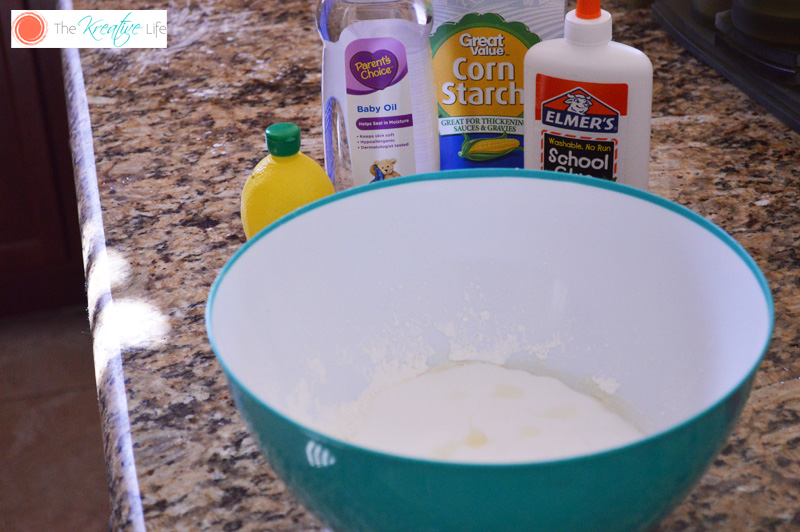
What You Need
- 1 Cup Cornstarch
- 1 Cup School Glue
- 2 Tbsp. Lemon Juice
- 2 Tbsp. Baby Oil
- Clear Plastic Wrap
- Petroleum Jelly
Directions
Pour cornstarch into a microwave safe bowl.

Slowly mix in glue, lemon juice, and baby oil.
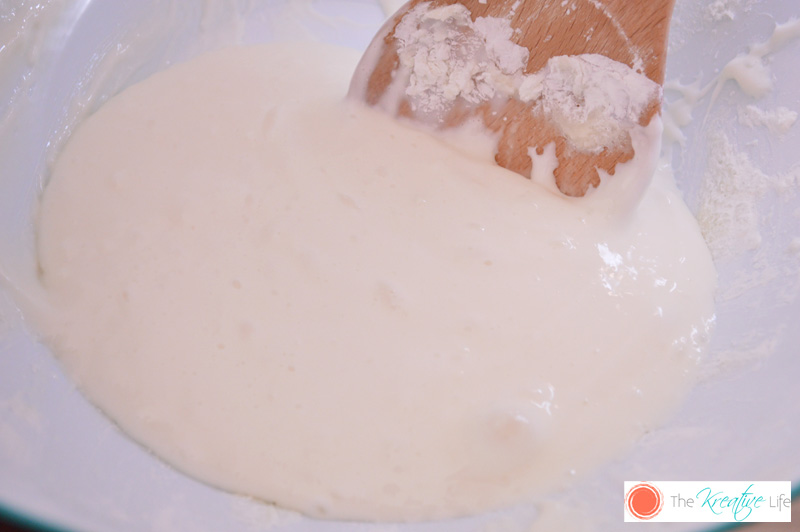
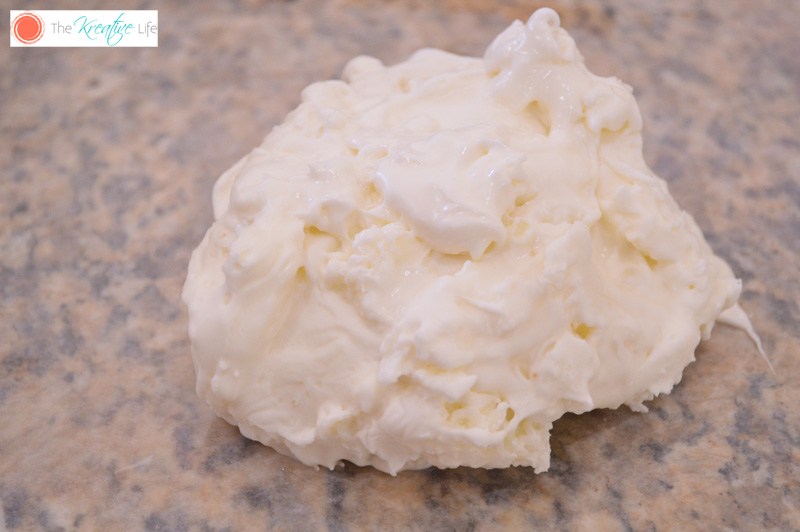
Place the mixture in the microwave and heat on high for 15 seconds. Remove from microwave and stir with a wooden spoon layered with baby oil. Continue this process at least two more times. The clay should start to stiffen.
Place a sheet of plastic wrap on the counter and apply a coat of baby oil.
Apply a moderate layer of petroleum jelly to your hand. Do not rub in (this will stop the clay from sticking to your hand).
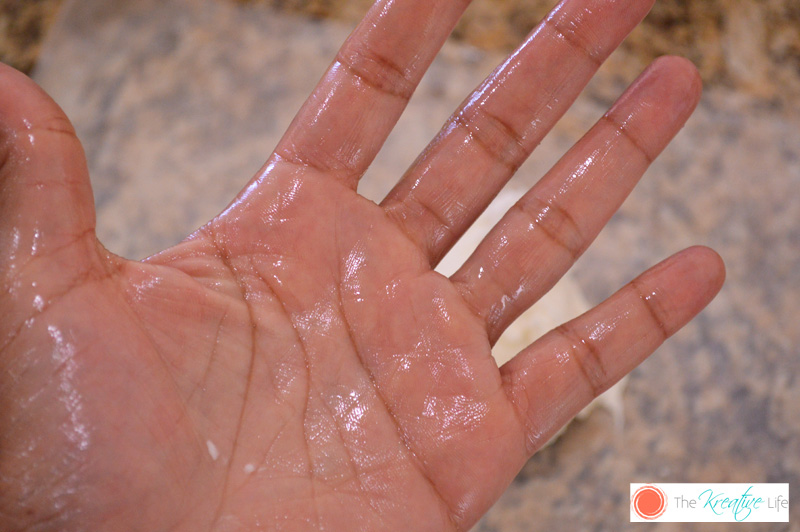
Roll the clay in your hand until the outside is completely smooth.

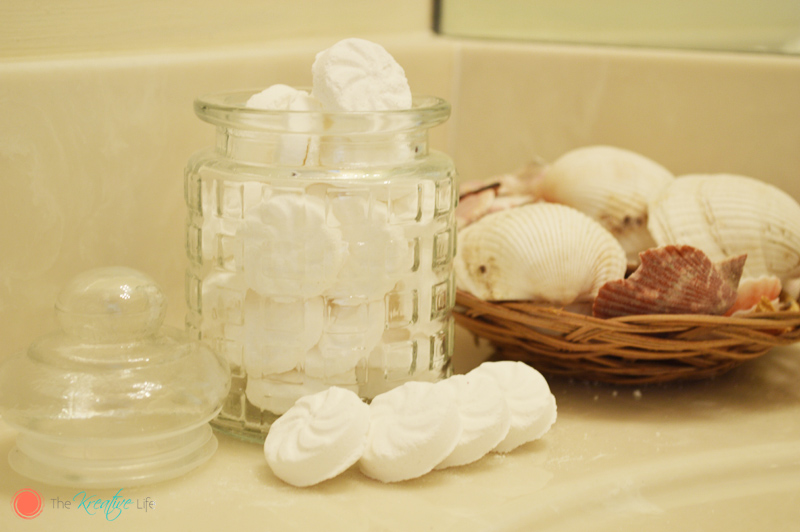
Wrap the clay in the plastic wrap until ready for use. If the clay is unwrapped, then it will start to harden.

Check out the video below to see how to make your own cold porcelain roses.


This is a great idea, I love the way it turned out! I have never seen making clay roses like this before. I will have to give this a try.
Oh wow, these are so pretty!!! I am utterly useless at anything crafty, but you tutorial is great! Maybe I’ll have to give these a go!
This is so neat! I had no idea you could make porcelain roses out of cornstarch! This is definitely going on my list of summer project for our little one. Thanks so much for sharing.
Those are so fun! I wish I was creative like that! 🙂
This looks like so much fun!
I hadn’t heard of this clay before but it definitely looks like something my creative kids would enjoy! Going to pin on my Summer Ideas board, thanks for sharing!
This is so creative! Who knew you could make something like this out of such simple ingredients… =)
So pretty and your tutorial is so through!! I am so not crafty but you make it seem easy!!
This is just so awesome ! Love that you have the recipe and tutorial in one post !
Oh what sights you must have seen living in Europe! I am jealous! I have a fascination with old castles, churches and buildings!! Thanks for sharing this recipe and tutorial! So fun!
This looks like so much fun!! I will most definitely be adding this to my summer to do list with the kids. I am always looking for fun crafting projects to work on with them. Thank you for sharing!
That looks like a fun and easy project. I will be trying this with my daughter.
I had never heard of this kind of clay before either but it sounds like such a good and inexpensive way to produce something that you can experiment with! Love it, thanks for sharing 🙂
Wow-live and learn. I never knew you could make a clay that way. Considering I am a KLUTZ-at least I could get creative without wasting money on the real modeling clay which is expensive!!
That is so neat that you can make a rose like that! Very artistic! I need to find time to do stuff like this.
What a great tutorial and so beautiful – and what a wonderful, special gift – thank you for taking the time to show us! Amazing
Ive never seen this before, so creative. My son love this like of stuff Im going to have to try it out with him. We will have so much fun.
As summer approaches, I start stockpiling ideas to keep everyone having fun & busy. This would be a great project to do with my oldest child. She’s very creative, and I know she’d love to practice with the clay.
Thank you for this great tutorial!
Pretty! And what an amazing childhood you had! Europe is on my “someday” list 🙂
So fun! I love the way they turned out!
I’ve never heard of this! Awesome idea though! Thanks for sharing it!
Oh my gosh, this is so gorgeous! I am going to have to try it!
So gorgeous, I love how it turned out!
Oh my goodness. What a fun craft. I turned out beautifully!
How clever! I love that you found a cheaper way to practice. Your roses are beautiful!
This looks like a really fun craft!!
This is really cool and so creative! I bet it would be a really fun project for kids too. They really turned out nicely. Love it!
I’ve never seen this before, but it looks like such fun!
i never knew that the ingredients to make porcelain would be so simple! Such a fun project!
This is such a smart way of doing it! I’m excited to try it myself!
Such a creative activity! Looks great for summer vacation for the kids.
This is such a cute idea, I love it!
I love this and how very creative! These are now on my list to do
I love that this is something you can easily do at home. I bet instead of roses the kids could make other fun objects too.
This is an awesome tutorial, thanks so much for sharing!
I’m looking forward to trying this soon. The last time I tried someone’s flour recipe, I ended up gagging so much because of the smell. It was a complete disaster. Glad to have found one with cornstarch. 🙂