
DIY Floating Shelves Solid Wood

For the longest I’ve had a blank wall in my front entryway. It’s been completely white with one tall bookshelf on display.
The bookshelf stood about 6 feet tall and with my two overactive boys it was a source of anxiety for me because I was afraid that the bookshelf would tip over and fall on one of them because they’d always run by it.
I solved my bookshelf dilemma by getting two shorter bookshelves![]() and putting them in that space. The issue of the blank white wall was something I still needed to tackle.
and putting them in that space. The issue of the blank white wall was something I still needed to tackle.

I painted the space as an accent wall, so now I had an empty brown wall with two brown bookshelves![]() sitting in front of it.
sitting in front of it.
BORING!!!
I still needed to spruce it up a bit, so I had to look at several options. I thought about hanging a large mirror![]() in the space since I have one laying around the house. The only issue with that is that I would need to frame it.
in the space since I have one laying around the house. The only issue with that is that I would need to frame it.
I could’ve filled the space with family photos, but both my husband and I have pretty large families and that would’ve been a lot of holes in the walls.
I decided to diy floating shelves from solid wood, so that I can add knick knacks![]() in the empty area.
in the empty area.
I’m not much of a craftsman (or woman), but this is how I was able to transform my space from blah to ba-zing (is that even a word?)! Enjoy!
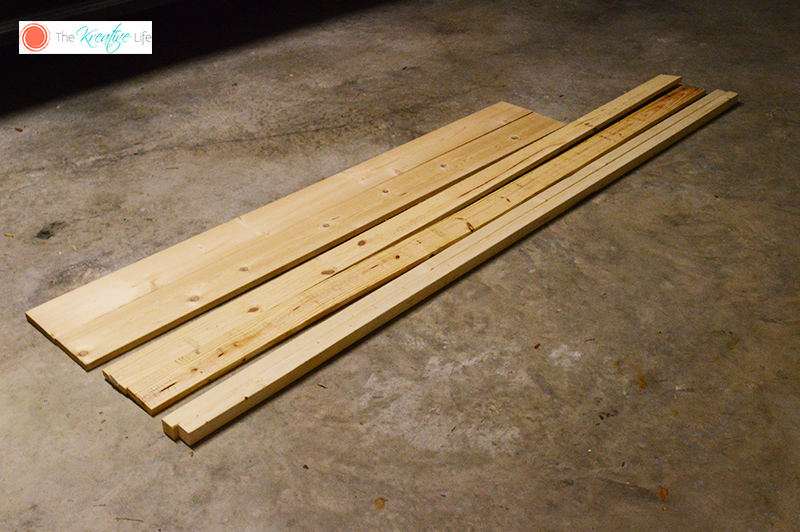
DIY Floating Shelves Solid Wood Supplies
- 8 – 1 x 4’s that are 6” long (for the short sides)
- 8 – 1 x 6’s that are 18” long (for top and bottom)
- 4 – 1 x 4’s that are 20” long (for front)
- 4 – 2 x 2’s that are 18” long (for long support)
- 12 – 2 x 2’s that are 3.5” long (for short support)
- 1 ¼” Nails
- 3” Screws
- Stainable Wood Filler

- Paint
- Paint Tray
- Goggles
- Face Mask
- Tape Measure
More DIYs: PVC Canopy for Backyard
How To Make Wood Floating Shelves
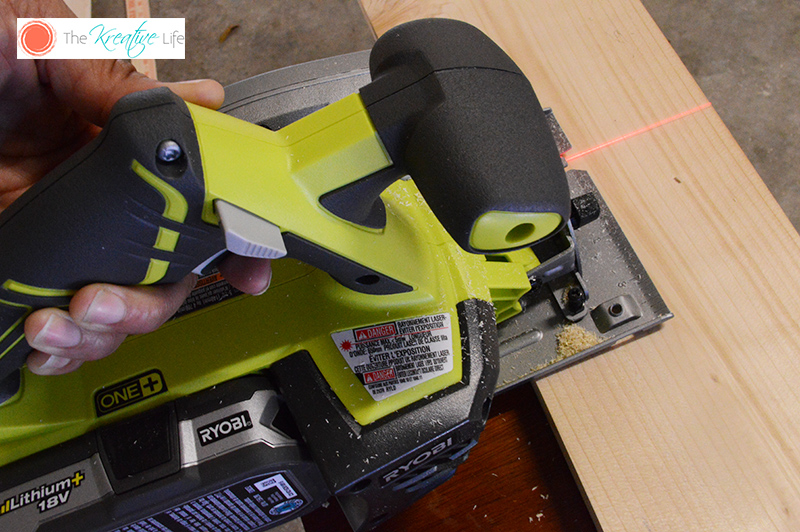
After I purchased my wood at a local hardware store, I used a to cut my 2 x 2’s and a circular saw![]() to cut the 1 x 4’s and 1 x 6’s to the specified dimensions.
to cut the 1 x 4’s and 1 x 6’s to the specified dimensions.
I used the 1 ¼” nails to secure the 6” – 1 x 4’s to the sides of the 1 x 6’s. I applied wood filler![]() to the spaces in the wood and allowed it to dry.
to the spaces in the wood and allowed it to dry.


Next I secured the 18” – 1 x 4 to the front of the frame. I used wood filler to fill in any spaces and set to dry. I then sanded the shelf using a sheet sander and grit 220 sand paper.


The 3.5” – 2 x 2’s were secured to the 18” – 2 x 2 using the screws to make the bar support. Then I attached the bar support onto the wall with the remaining screws.


After the shelves were painted and dry, then I slid the back of the shelf onto the bar support.

Now my wall is complete! Have you tried your hand at something that’s a little more crafty than you’re used to? How did it turn out?
If you liked this tutorial, then you may like my decorative wood stained table!


I love that! I need to do something like this in our new home! We just have to make sure we have enough money to fund a little project like this. It looks so good.
Hi, Heather! Local lumber yards may sell scrap wood for cheap!
This was such a helpful post! I’ll definitely need to bookmark this for reference. I’ve been looking at a lot of floating shelves on Pinterest and lusting over them, so this has definitely been some more inspiration!
Rebekah | rbekhaj.com
Thank you so much, Rebekah!
Thanks for the idea! I love reading fictional books that’s why im planning on having floating shelves and I really love this one
Hi, Rose Ann! These would be perfect for books!
What a great post, they look gorgeous in your room too. Very clever I have bookmarked this 🙂
Thank you, Elizabeth! I’m glad you like them!
I love how these turned out! So cute.
Thank you so much!
Your shelves look amazing! I could do with some for a space I have in my living room. I’m just not sure how good I am at DIY! LOL
Louise x
Hi, Louise! I’m not that great at woodwork, but this was pretty easy.
I am so far from handy, but I think I could actually handle this DIY! Yours turned out great!
This turned out so amazing! It’s amazing what those floating shelves can do for a room to look different.
They really do give it a new look!
I have always wanted floating shelves. These look so beautiful in your space!
Thank you so much!
Great project! I was wondering if you are planning to create a tutorial on how to build the bookcase you have pictured.
It was too much for me. So I have been reading this article for a few days. I can easily understand your article. Now seeing your article, I will try to make it myself…
.
So Thank you so much for sharing