
How to Make Wooden Signs with Sayings

Everybody who knows me knows that I love my wall of quotes. There is just something about waking up in the morning and walking down stairs and the first thing I see is my wall of quotes.
There are times when I need a little inspiration to get my day started or even times when I just need to smile.
Even though I’ve had most of my inspirational signs for a couple of years, I still catch myself stopping to read every single one.
Yeah, I know it sounds crazy but it makes me happy.
What doesn’t make me happy is the price some of my quotes cost. Luckily, I bought most of them on sale.
I still don’t want to pay for something I know for sure I can do myself.
I needed to learn how to make wooden signs with sayings.
That’s where this little crafty project came in. The wooden cutout was only 97¢, the scrapbook paper was only 17¢, and the stencil was $3.
Everything else I had on hand, so this craft is definitely a money saver!
It’s my first go at stenciling, so please don’t be too harsh if you see some mistakes.
Practice makes perfect, right?
I have a few more that I will practice on this week and I will share once they are complete.
I hope you like my diy inspirational sign craft. Enjoy!

DIY Wood Sign Supplies
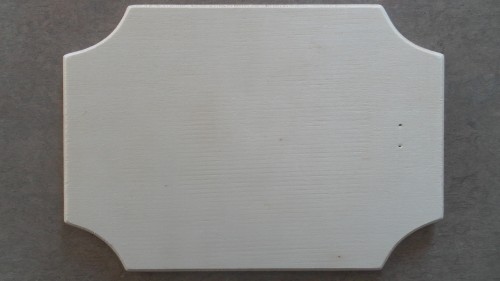
1 Unfinished Wooden Plaque![]()
1 Sheet Decorative Scrapbook Paper
Scissors
Acrylic Paint
Sponge
Brush
Lettering Stencil
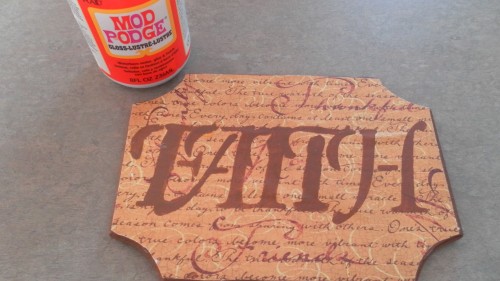
Mod Podge![]()
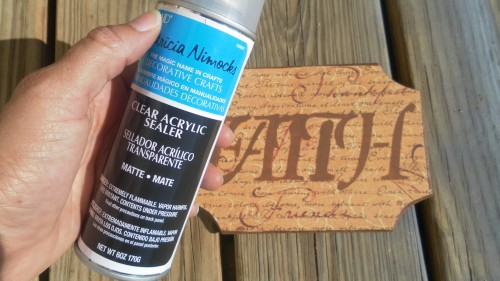
Clear Acrylic Sealer![]()
Ruler
Pencil
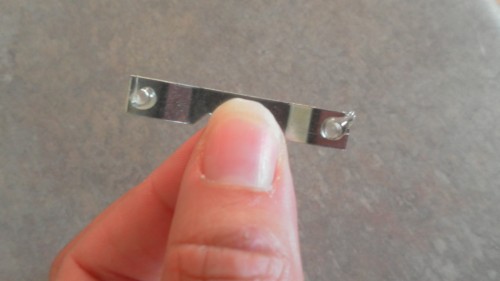
Wall Mount
Glue Gun
How To Make a Wooden Signs with Sayings
Trace the outline of the wooden shape onto the back of the scrapbook paper then cut out the shape.


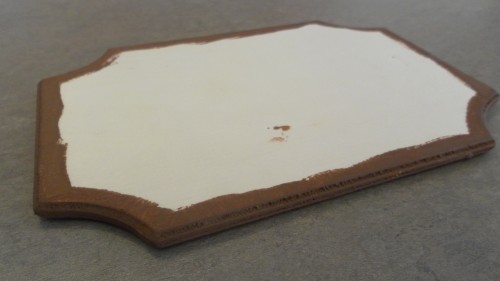
Apply two coats of paint to the edges and part of the front of the wooden shape with a color that coordinates with the scrapbook paper. Let completely dry.
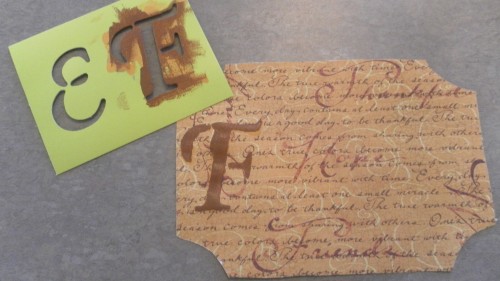
Using the same color of paint and the sponge brush, stencil the letters onto the front of the scrapbook paper cutout. Let completely dry.
Related From The Kreative Life: How to Paint Baseboards
Related From The Kreative Life: DIY Wood Floating Shelves
Apply one coat of Mod Podge to the front of the wooden cutout and then place the scrapbook cutout onto the front of the wooden cutout.
Turn cutout front side down, so that the scrapbook paper can dry flat.

Once dry, in a well-ventilated area, apply two coats of spray sealer and let completely dry.
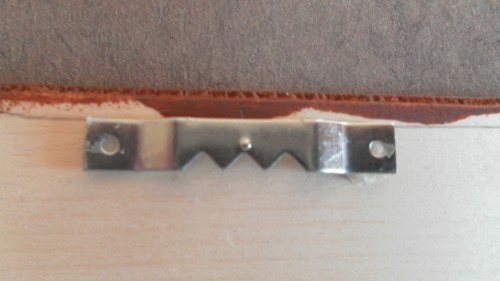
Using ruler and pencil, draw a horizontal line on the top back of the cutout where you would like the wall mount positioned.

Apply hot glue to holes on wall mount where screws would be (this wood was too thin to use the screws) and glue mount along horizontal line.
Let glue dry and hang sign using a nail.
If you like this wood craft, then you may want to try these diy floating shelves.


What a cool tutorial! 🙂 I will get brave one day and do that, I’m sure! 🙂
Thanks for stopping by my blog and leaving such a sweet comment, too! I appreciate it! 🙂
Thank you so much, Julie! It took me awhile to even try to attempt this, but once I did it was easier than I thought.
Hey! Visiting back from the hop! We have some in common. My husband is an Officer in the Marine Corps and my undergrad degree is a BA. I’m not real crafty though.
Glad we connected!
Liz
Hi, Liz! Thank you for stopping by. I just love your blog! Keep in touch!
Love this tutorial…..you did a beautiful job
Thank you so much, Marilyn!
I’m so loving your signs!!! The are amazing!!!!
Hi, Cynthia! Thank you!
Hi Kendra,
I can’t remember what link I clicked on to get to your blog….but I’m glad I found it! Great blog, and excellent tutorial! …and love your about page! 🙂
alaya
http://www.behindthebiggreendoor.com
Hi, Alaya! I’m so glad you found me. Thank you so much!
Great idea. Thanks for sharing with us at
In and Out of the Kitchen Link Up Party
Dawn
Thank you, Dawn! I can’t wait to link up next week.
These look awesome. Found you on In and out of the kitchen
Hi, Marlys! Thank you so much for stopping by to visit!
These are gorgeous! Great job!
Thanks, Ellen!
This looks awesome. I’m pinning your post so I can make a sign myself!
Thank you so much for the pin, Bonny!
What a great tutorial on signage. Love the tips and the sign looks wonderful.
Hi, Donna! Thank you so much!
These look really great! Nice job! I would love for you to come by and link this or another project/recipe at my brand new link party!! Hope to see you! http://domesticsuperhero.com/2013/03/07/domestic-superhero-sharing-thursday-1
Thank you, Allyson! I’m heading your way right now!
What a fabulous sign! I love the idea of using scrapbook paper as the background, so smart!
Thank you so much, Jessi!
Oh LOVE IT!! I looks great on the wall!!
Thanks for sharing this at The DIY Dreamer.. From Dream To Reality! Can’t wait to see what you link up tomorrow evening 🙂
Thank you so much for hosting, Christine! I will be sure to stop by tomorrow!
I love this tutorial and will be featuring it this weekend, so I hope you stop by and grab a feature button.
Thank you so much for the feature, Bonny! You are the best!