
How to Make Organza Flowers for Hair Pins

I’m very much a colors and accessories person! I say the brighter the color, the bolder the pattern, the bigger the accessory, the better!
I can’t imagine being any other way. I think my boys have picked up on my sense of style because every chance they get, they are finding something to adorn me with, whether it’s a ring made out of paper, a bracelet made from rubber bands, or a crown made from an old box.
However, their favorite thing to give me is random flowers picked out of the backyard, along sidewalks while they’re bike riding, or even by canals while they’re fishing. Yep, that’s my boys!
I can’t just hold onto the flowers. Nope, it’s not that easy. They always want to see me put them in my hair.
Let’s just say there have been a few times I didn’t check the flowers well enough for bugs and some critters ended up in my hair. Ugh!!!
You can thank my boys for this how to make organza flowers for hair pins tutorial because I needed a way to keep them happy by having flowers in my hair, minus the bugs.
More from The Kreative Life: Scrapbooking for Beginners
Luckily, I know how to make organza flowers with pretty petals so this one was pretty easy.
This method can also be used for diy organza flower headbands and bouquets. You’ll just have to attach the flowers to whatever you want to hold them.
These no sew organza flowers and can be made quickly.
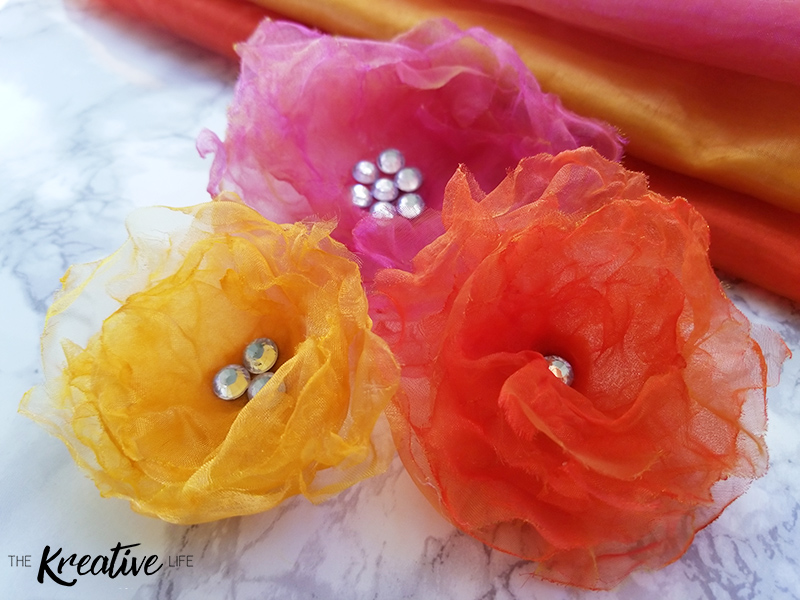
Since spring is a couple of days away I decided to choose some bright colors that can also be worn during the summer. I made four of these diy organza flower hair clips in different sizes. The largest is at least 6” diameter.
If I get brave enough, I’ll wear and will definitely take pictures to share with you all. In the meanwhile, I hope you find this organza flower hair pin tutorial helpful. Enjoy!
**I do caution that since you are using a small flame, to keep children away while you’re doing this craft and to perform caution around any open flame.**


DIY Organza Flower Hair Pin Materials Needed
Ingredients
- Organza Cut into several small, mediuim, or large circles, depending on the size you want your organza flower hair pin. 6 – 8 pieces per flower.
- Small Candle Prelit
- Hot Glue Gun Preheated
- Costume Rhinestones I used crystal-like rhinestones
- Felt Colors coordinating with organza
Instructions
-
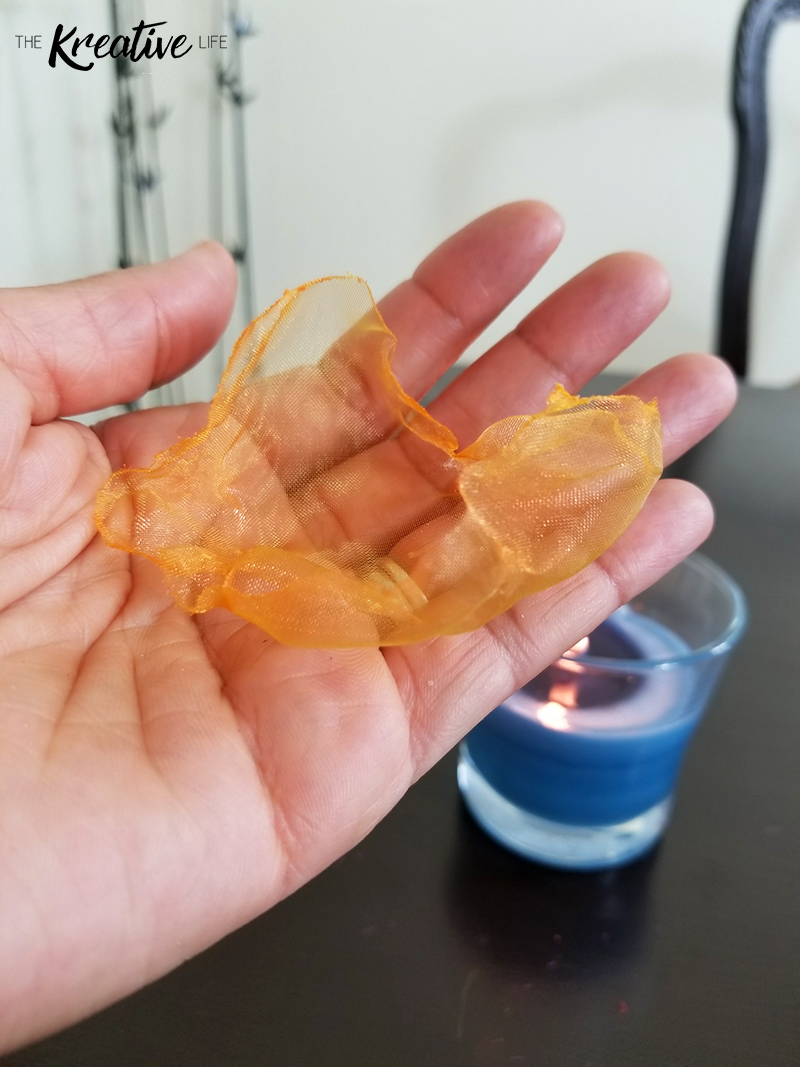
One at a time, hold a piece of cut organza about 2” above the prelit candle. Slowly turn the organza until you see the edges slightly fold in. Continue turning until the piece of organza resembles a flower petal. Do this same process with the other pieces of organza.
-
Stack 6 – 8 organza pieces on top of each other going from largest on the bottom to smallest on the top.
-
Place a dot of hot glue on the center of the flower petals and press until all of the petals are adhered in the middle.
-
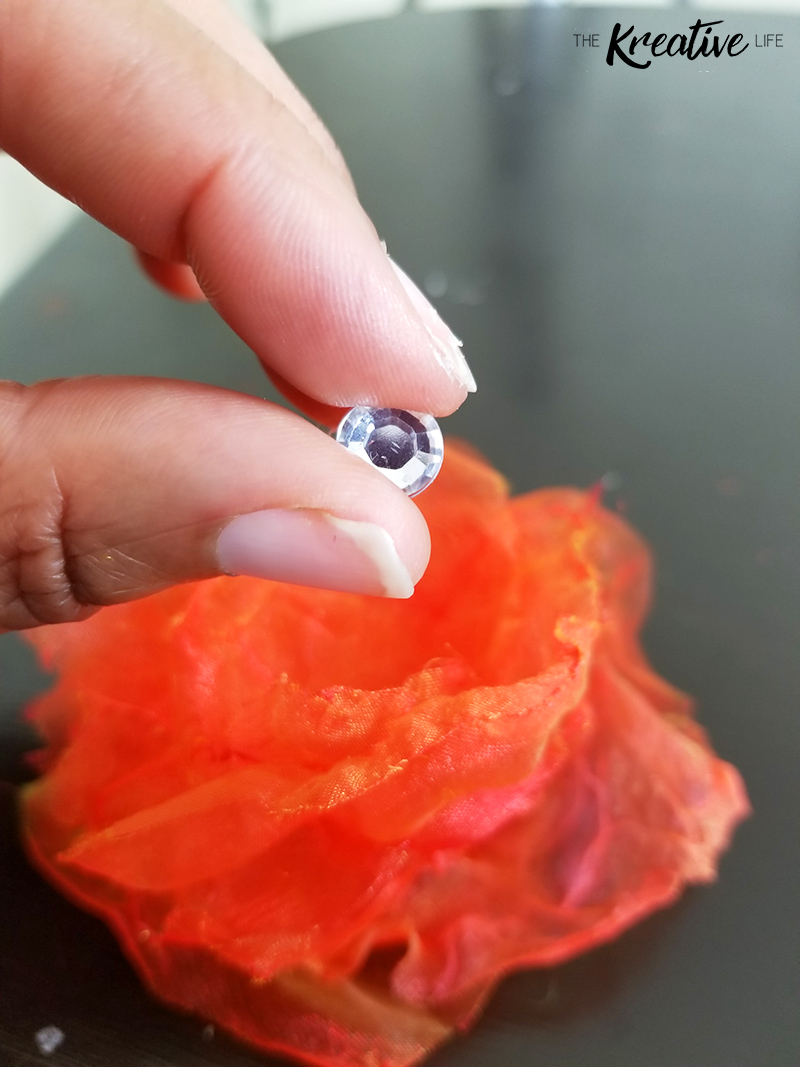
Place a dot of glue onto the back of the rhinestones and place the rhinestone into the center of the flower. You can glue multiple rhinestones into the middle.
-
Using the felt, cut a small circle approximately the size of the back of the flower out of the felt and attach the felt to the back of the flower using the hot glue gun.
-
Apply glue onto the ridged side of the bobby pin and press the ridged side to the center of the felt that’s attached to the flower. Allow glue to fully dry before wearing your diy organza flower hair pin.
How to Make Organza Flowers for Hair Pins
One at a time, hold a piece of cut organza about 2” above the prelit candle. Slowly turn the organza until you see the edges slightly fold in. Continue turning until the piece of organza resembles a flower petal.
Do this same process with the other pieces of organza.

Stack 6 – 8 organza pieces on top of each other going from largest on the bottom to smallest on the top.
Place a dot of hot glue on the center of the flower petals and press until all of the petals are adhered in the middle.
Place a dot of glue onto the back of the rhinestones and place the rhinestone into the center of the flower. You can glue multiple rhinestones into the middle.

Using the felt, cut a small circle approximately the size of the back of the flower out of the felt and attach the felt to the back of the flower using the hot glue gun.

Apply glue onto the ridged side of the bobby pin and press the ridged side to the center of the felt that’s attached to the flower. Allow glue to fully dry before wearing your diy organza flower hair pin.

Have you ever diy’ed your accessories?


